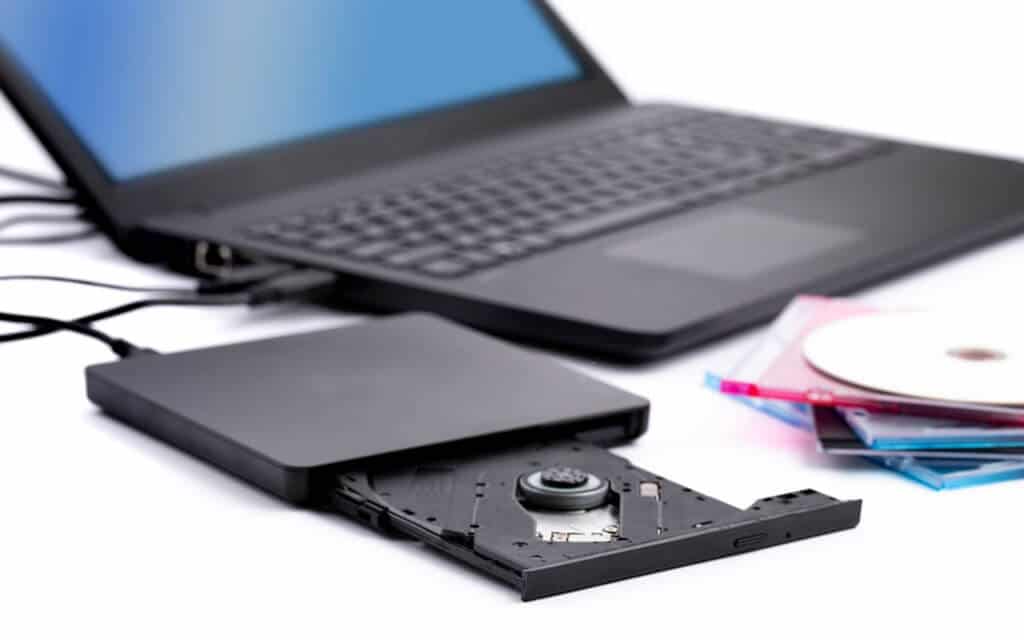
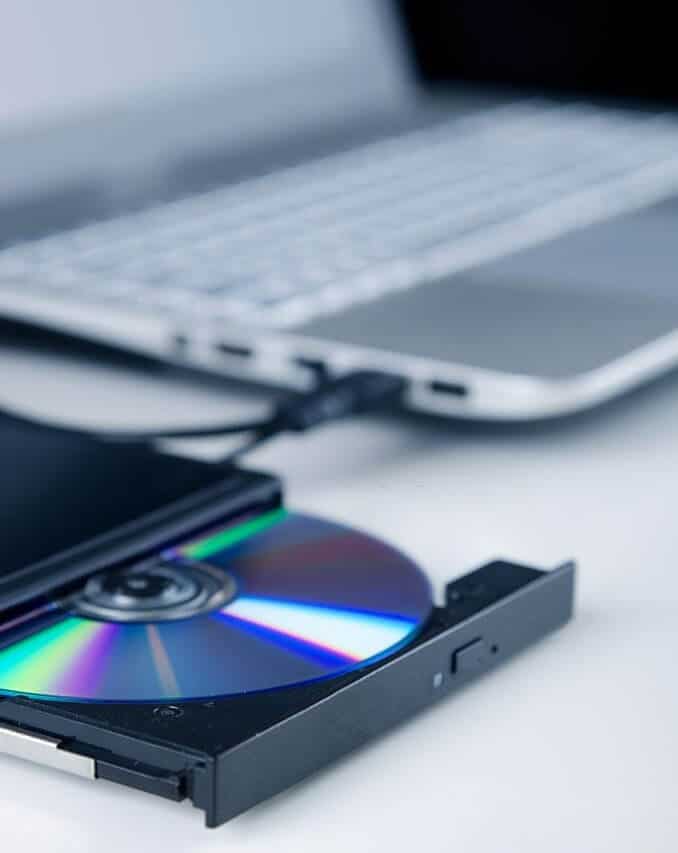
These days most companies are aiming for a minimalist approach when designing their products. As such, things like DVD drives are being phased out.
We doubt if this change is making our user experience any better, especially when there are still folks out there with huge DVD collections!
In any case, there is not much you can do about it. Right? Well, actually, you can. You can get an external DVD drive! They do not cost much and are easily available.
So, let’s take a look at the various types of DVD drives available. Hopefully, you can find one that suits your needs!

Key Features To Look For
Performance: When looking at external DVD drives, be sure to look for fast-burning and read speeds! Try to get one with the best speed.
Design and Build Quality: The design matters because it dictates whether a DVD drive is either portable or a connector. If you are someone who loves to travel, then this is something you should keep in mind. Concerning build quality, I think it goes without saying that you should go with a DVD drive that has a sturdy build.
Price: Generally, the price would be the first consideration, however, because DVD drives are competitively priced, you don’t have to worry about breaking the bank.
Port: Since you will be connecting your DVD drive to your laptop, it is advisable that you check your laptop to make sure that you have the necessary ports that will enable you to connect to the external DVD drive.
Warranty/Guarantee: We don’t always use these things but you never know. Be sure to note the warranty or guarantee periods.
Now that you know how to choose a DVD drive, it’s time to learn how to connect it to your laptop. It is not difficult, trust me!

Connecting An External DVD Drive To A Laptop
Step 1: Start your system. It’s generally recommended that you keep your laptop on while you connect any external device.
Step 2: Get your DVD drive and check to see if it comes with a cable attached to it. If yours does not come with a cable attached to it, simply insert the cable (which should come with your device) into the DVD drive’s port.
Step 3: Now connect the other end of the cable to your laptop.
Step 4: Now, in most of cases, the laptop will recognize the device and auto-install the software that will allow the DVD drive to function properly.
Step 5: If the software is not auto-installed, read the installation manual or watch the installation DVD that should’ve accompanied the DVD driver. Once you find out which software you need to install, install it!
Step 6: After installing the software, reboot your system, and have your favorite DVD – movie, TV show or otherwise – ready!
Now that you know how easy it is to install a DVD drive, we hope that you feel inspired to go out and get one and put those old DVDs to use!
Conclusion
It’s been a few months since my parents told me that they needed a DVD drive. That’s when I understood that there is a need for this device.
Also, I figured there were others out there with cherished DVD’s who could benefit from having a DVD drive, and that is why I wrote this article.
In the comments section, please let us know which DVD you played first on your new DVD drive. If you have any doubts or questions, feel free to reach out to us – we’d love to help you out! After all, your comments and questions are what keep us motivated!!
Make sure that everyone on your friends list gets one of these for their parents (or even for themselves). Also, be sure to share this post. Hopefully, they will find it helpful. Thanks for reading – see you soon!


Be the first to comment