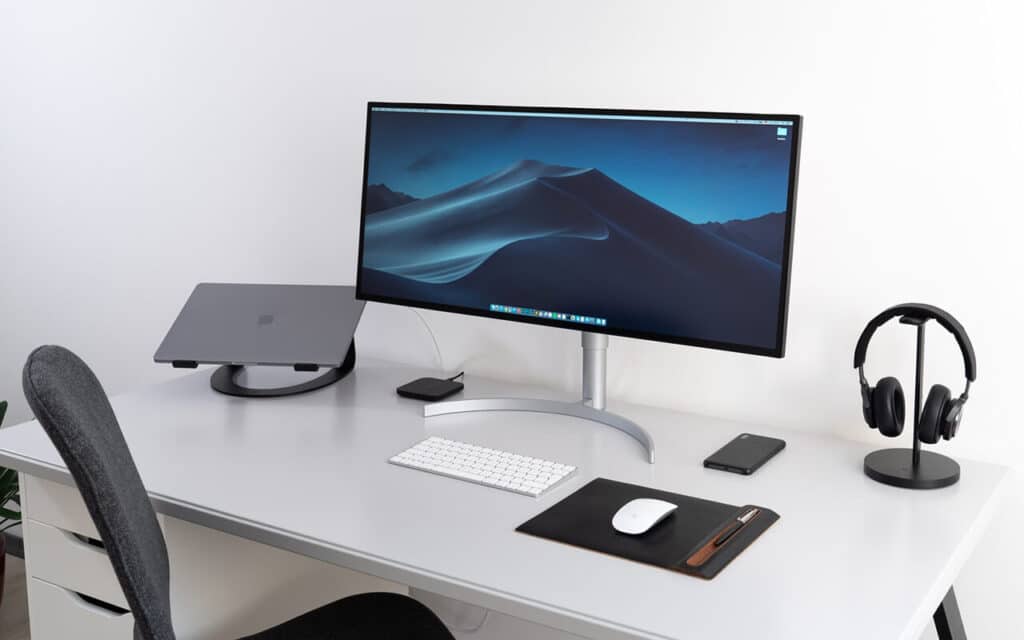
Many people choose to use laptops over PCs because they’re mobile, which makes them super convenient. However, some prefer using an external mouse, monitor, and keyboard.
Suppose you’re trying to use external devices in your office, including a monitor, and you need to know how to close your laptop and use a monitor. In that case, you’re on the right track because we’re going to explain how to use an external monitor on your laptop.

Table of Contents
Turn off Laptop Screen When You are Using an External Monitor
Laptops with Windows 10 installed will give you the option to customize both your primary and secondary monitor display whenever you hook an external monitor to it. You can choose to let your Windows desktop run on one display, run on both displays, or use an external monitor.
To quickly turn off your Windows laptop while keeping the external monitor running, here are the steps to take:
Here’s a keyboard Shortcut
Step 1: Check to make sure you have an external monitor hooked up to your Windows laptop via a suitable connection method, like DVI, VGA, DisplayPort, HDMI, etc. and make sure it is configured correctly.
Step 2: Once you have ensured the laptop and external monitor are connected, go ahead and press the Windows and P keys (Win+P).
Step 3: Once you press Win+P, a sidebar will appear on the right-hand side of your screen. This sidebar will show four different display modes: Laptop screen only, Duplicate, Extend, and Second Screen Only. If you would like to turn off the built-in laptop display and have everything show up on your external monitor, all you have to do is click on Second screen only.
Step 4: Now, you need to wait at least five seconds for the changes to take effect. Your current Windows desktop should now show up on the external monitor you have hooked to your laptop, while the laptop display should be off.
The four steps above are one of the easiest methods to turn off the display on your Windows 10 laptop while keeping the external monitor on. You can also go through the Settings to do this; here’s what you need to do:
Using the Settings
Step 1: Just like in the above steps, you should check to make sure an external monitor is connected to your laptop via a suitable connection method and configured correctly.
Step 2: On the Windows desktop, right-click the mouse and click on Display Settings in any open area. Once you do this, the Settings window for the display settings should show up on your screen.
Step 3: Your laptop should be able to determine which display is labeled as either 1 or 2. If you would like to know which number your external monitor is, all you have to do is click on the Identify button. Both the external and built-in displays will flash for a moment; the number will correspond to their identity. External displays are often identified as being the 2nd display, showing the number 2 label.
Step 4: Once you have identified your internal monitor, click on the dropdown menu for Multiple Displays. Select Show desktop only on 2, then click OK.
Step 5: Your laptop display should now turn off for a couple of seconds, and the Windows desktop and open programs will flash over to the external monitor. If you like what you see and would like o save those settings, click on Save Changes, which will be on the pop-up window.
Turn off MacBook Screen When Using External Monitor
Portable Mac computers have a mode called Clamshell mode. In this mode, you can close the lid of the portable Mac while running your desktop on an external monitor. This gives you the chance to have some free space on your desk while saving power and since your screen will be off on your Mac, it will help extend the lifespan of the laptop display.
Just as we gave you steps to help you on Windows 10, we’re going to give you some steps to help you enable clamshell mode on your Mac. The method we’re about to show you will require an external keyboard to work properly.
Step 1: While your Mac is turned on, close the lid – doing this will activate sleep mode. You mustn’t shut down your MacBook.
Step 2: Make sure your Mac is connected to power and paired with a keyboard and mouse. Plug your external monitor into the Mac using a suitable method like DisplayPort, HDMI, USB-C adapter, VGA, Thunderbolt, etc. If you’re using a Bluetooth mouse or keyboard, make sure you pair them with your laptop before closing the display. Otherwise, connect a USB keyboard and mouse to the Mac.
Step 3: On the connected keyboard, press any key and wait for the external monitor to wake up and show you your desktop.
Using an External Monitor Via System Preferences
Step 1: Make sure your external monitor and Mac are properly connected.
Step 2: On the left corner, there’s an Apple icon at the top – click on that and then click on System Preferences.
Step 3: Once you are on the System Preferences window, click on Displays.
Step 4: Click on the Arrangement tab and then click the checkbox labeled Mirror Displays. Once you have done this, you can close the lid on your Mac, putting the Mac in sleep mode.
Step 5: Connect any compatible mouse and keyboard to the Mac laptop. Like last time, if you’re using a Bluetooth keyboard or mouse, make sure you pair them before you close the lid.
Step 6: Press any key on the keyboard, and the external monitor should display in a matter of seconds and show you the contents of your laptop.
Conclusion
There are not any downsides to plugging your Windows 10 laptop or Mac laptop into an external monitor. The only issue we could see is if you leave the external monitor plugged into your laptop all day, it could drain the battery faster, but this can be fixed by leaving your laptop or Mac plugged into the wall.
Just try to use your battery every now and then to prevent it from going bad. Follow the instructions in this post and you will have no problems using an external monitor with your laptop.


How do i close my laptop and use external monitor